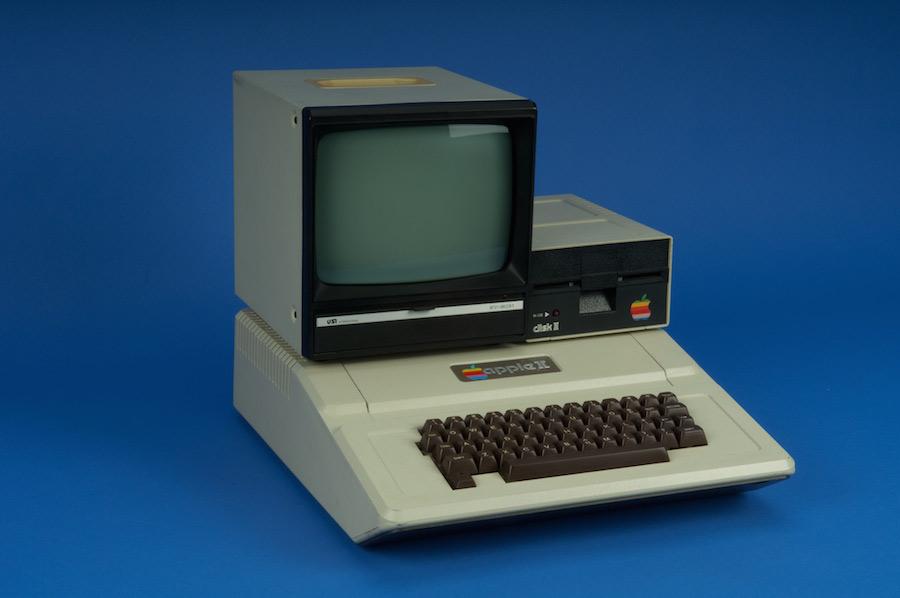
If you’re a proud Mac owner, I’ve got some great news for you. You already know your computer is awesome – it can do all sorts of cool stuff like help you to surf the Internet, print out words or pictures, or even play a game of Snood once in a while. But jokes aside, there are things your Mac can do that even you don’t know about yet. Read on dear Mac user, for your life is about to get a little bit easier. Here are ten cool things your Mac can do that you might not have known about – until today.
1) Instant screenshots.
Many people use special apps for screenshots, but if you need a quick snapshot of anything on your screen, you can do so with just a few simple keystrokes. To take a snapshot of your entire screen, press Command(⌘)-Shift-3. To take a snapshot of a region of your choosing, press Command(⌘)-Shift-4. Your pointer arrow will turn into a plus sign which you can click and drag down and to the right to create a selection. When you release your hold, the snapshot will take. And finally, to take a snapshot of a single window that you have open, press Command(⌘)-Shift-4 and then hit the space bar afterward. Your screen will turn blue and your mouse arrow will turn into a camera icon. Hover this icon over whichever open window you want to capture and click on it. In any of these cases, your snapshot image file will be placed on your desktop.
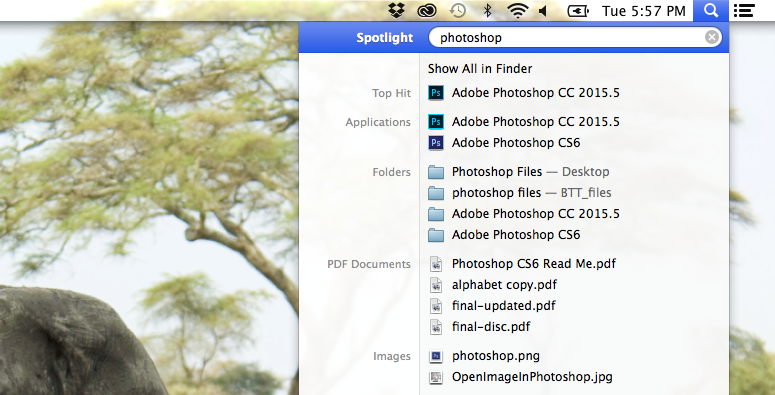
2) Spotlight tool (plus it’s a calculator!)
Click Command(⌘)-Spacebar and you’ll see a text field pop up in the upper right corner of your screen. This is in essence a find command. You can enter anything in that field: a file name, an event name from your calendar, or an application name – and your Mac will deliver to you the results it deems relevant. I often use this for simply opening applications if I don’t feel like mousing down to my dock to open it. I find sometimes it’s just easier for my hands not to leave the keyboard. And a side tip: the spotlight tool is also a calculator! Simply enter your math equation (using + for addition, – for subtraction, / for division, or * for multiplication) into the spotlight field and you’ll see your answer pop up immediately.
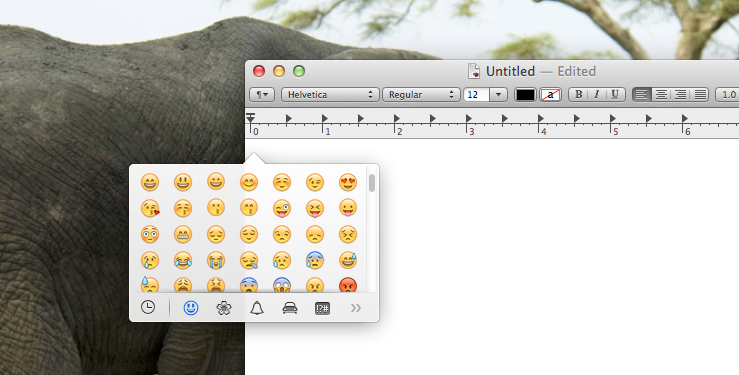
3) Add emojis anywhere you like.
You probably know how to add emojis in text messages – and in emails too. But you can also add them anywhere else you can imagine by simply pressing Control-Command(⌘)-Spacebar. Press those three keys and you’ll see your emoji menu pop up, complete with smiley faces, a smiling pile of poo, twin girls in matching black leotards – or whatever else strikes your fancy.
4) Easily move files to the trash.
I only learned about this one recently and I can’t fathom why I manually mouse dragged files onto the trash icon for all those years. To move a file or folder to your trash, simply select it and click Command(⌘)-Delete. So easy. And by the way, if you ever accidentally move something to the trash that you didn’t mean to, all you have to do is press Command(⌘)-Z to undo the last thing you did.
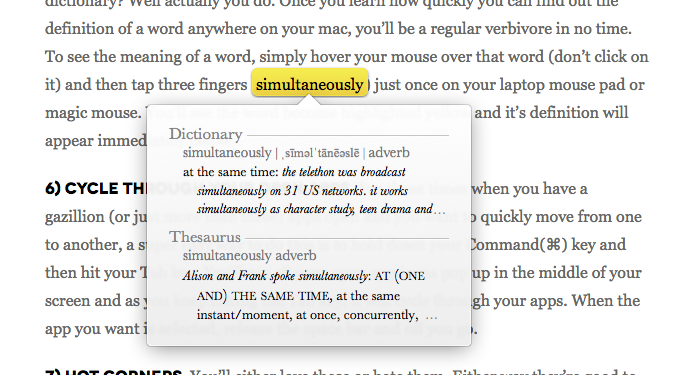
5) Get word definitions – fast!
Who has time to look up words in the dictionary? Actually, you do. Once you learn how quickly you can find the definition of a word anywhere on your mac, you’ll be a regular verbivore in no time. To see the meaning of a word, simply hover your mouse over that word (don’t click on it) and then tap three fingers (simultaneously) just once on your laptop mouse pad or magic mouse. You’ll see the word become highlighted yellow and its definition will appear immediately below.
6) Cycle through your open apps.
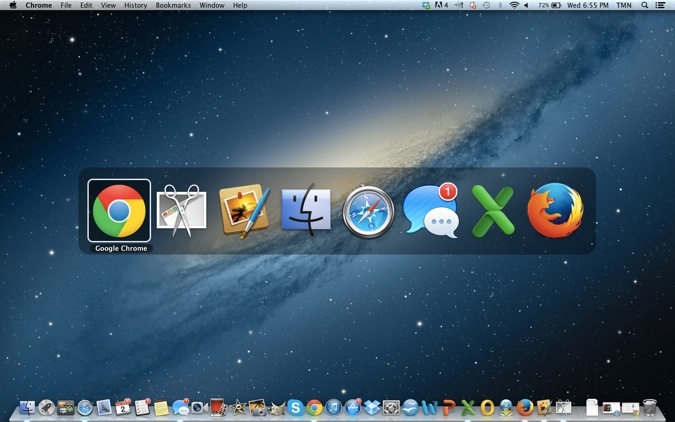
For those times when you have a gazillion (or just more than three) apps open and you want to quickly move from one to another, a super easy way to do this is to hold down your Command(⌘) key and hit your Tab key. You’ll see all your open app icons pop up in the middle of your screen and as you keep hitting the Tab key, it will cycle through your apps. When the app you want is selected, release the space bar, and off you go.
7) Hot corners.
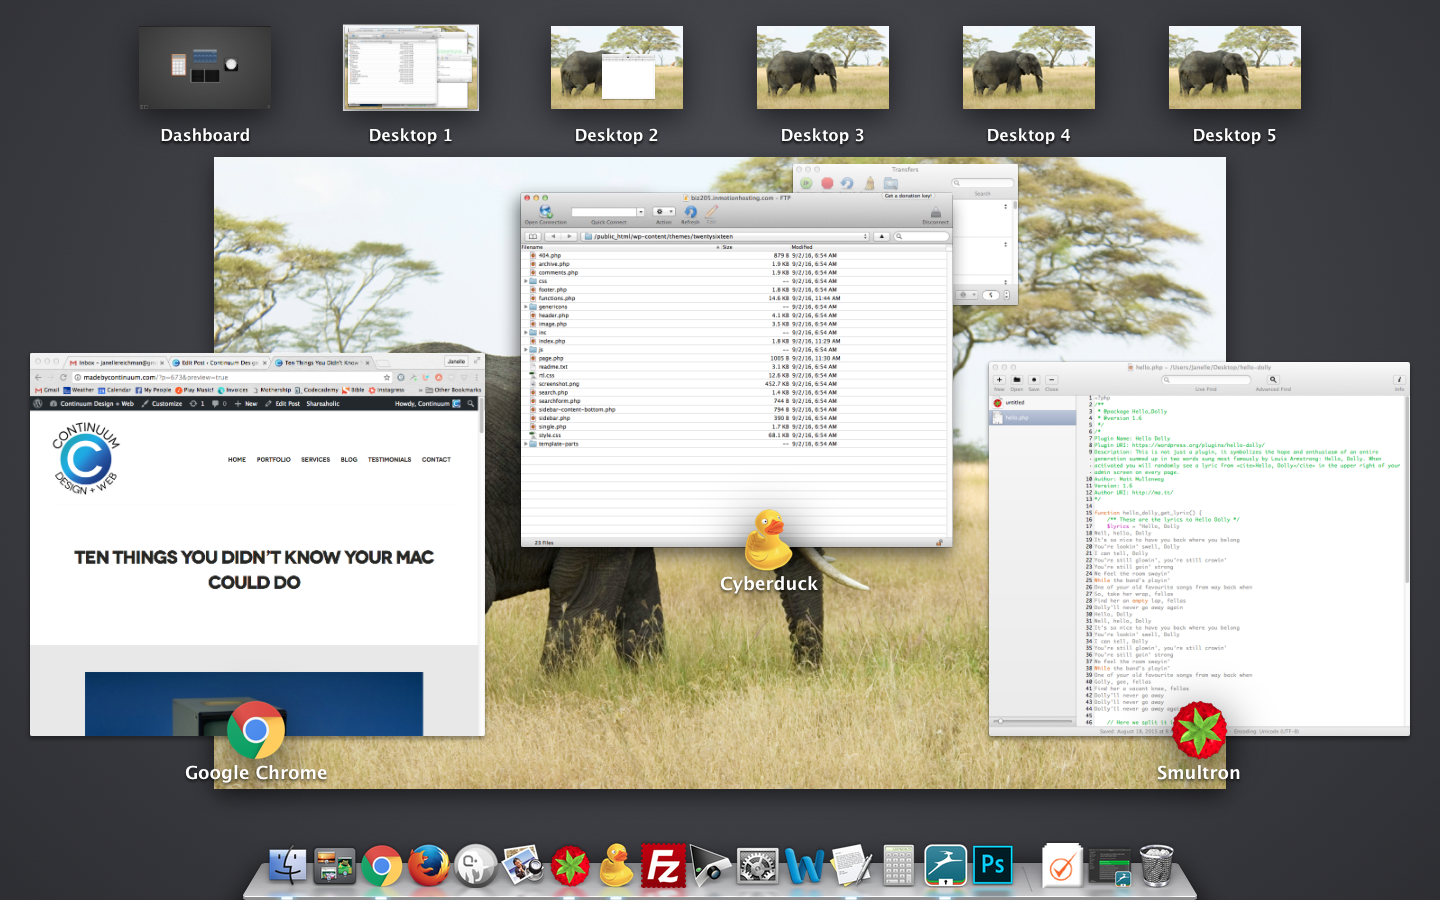
You’ll either love these or hate them. Either way, they’re good to know about. Head on over to your System Preferences and click on “Desktop & Screen Saver.” Once you’re there, you should see a little button in the lower right-hand corner that says “Hot Corners.” Click this, and you’ll be provided with a pull-down menu for each corner of your screen. There are several different options, but the ones I find particularly helpful are Application Windows and Desktop. Application Windows will shrink all of your open windows down to miniature size so you can view them all at once and click on which one you want to view (see photo below). Desktop will hide all of your open windows so you can view your entire desktop. It’s hard to fully understand how these are helpful until you experience them for yourself, but I definitely recommend giving them a try. After you’ve selected your Hot Corners options in System Preferences and hit OK, place your mouse pointer in a corner of your screen. The action you chose for that corner will come into play when you move your mouse to that particular corner.
8) Multiple desktops.
I don’t want to be super dramatic and say this has changed my life – but it kind of has. To enable multiple desktops, you’ll first need to set one of your hot corners to “Application Windows” (see instructions in Tip #7 above). When you move your mouse to that corner and activate the Application Windows hot corner, you’ll notice at the very top of your screen a series of squares (see photo above). The first one says “Dashboard” and the second one says “Desktop 1.” If you drag your mouse all the way over the right side of this row (even move it off the screen) you’ll see a plus sign appear. Click on that plus sign and you’ll create a new desktop. So what can you do with multiple desktops? You can set up multiple work environments that you can move between with ease. I often have my Internet browser in Desktop 1, my Photoshop window open in Desktop 2, and my online server window and code editor in Desktop 3. This has helped me enormously with workflow and visual organization.
9) Move multiple files to a new folder.
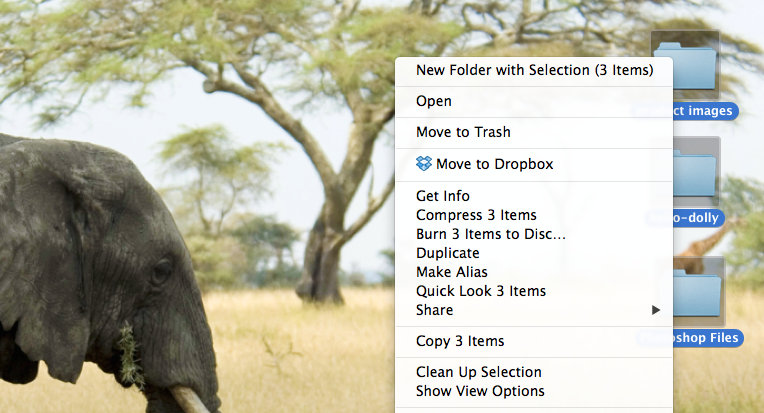
When you need to complete this action (which we all do pretty frequently), instead of following the tedious steps of a) creating a new folder, b) giving it a name, c) highlighting all your desired files, and d) dragging them into said folder – try this instead: highlight the files or folders you want to put into a new folder and Control-click on one of them. You’ll see a menu pop up and the first option is “New Folder with Selection.” This is what you want. Select that, name your folder, and you’re done.
10) Preview any file without launching its application.
Sometimes you want to quickly view an image file or text document to see what exactly it contains, but you don’t want to take the time (or the RAM) to open the application it requires. When this is the case, you can simply highlight (click on once) the file and hit the space bar. A preview will pop up and show you what’s in the file. And if it’s a text document, you can even scroll down to view the entire document – all without opening up the application.

If you take away even one of these Mac tips and make it a part of your regular routine, that’s great. I recommend googling “cool things a Mac can do” at least once a year because new shortcuts and tools are getting added to your Mac’s repertoire all the time. Enjoy!

